Blackened
I mentioned on my post about Queen Marie’s portrait that we gave her another hand made gift on her birthday as well as the painting. Prince B wanted to make her a side table, mostly because he’s developed a taste for setting wood on fire! It’s inspired by Shou Sugi Ban which is the Japanese craft of blackening wood. I shared it on Instagram so figured I share it on here as it’s a kind of little tutorial of sorts.

FROM HUMBLE LOG

TO STYLISH SIDE TABLE
All you need is: a logo or piece of natural, untreated wood, a propane burner or blow torch, French polish, a sander and some table legs


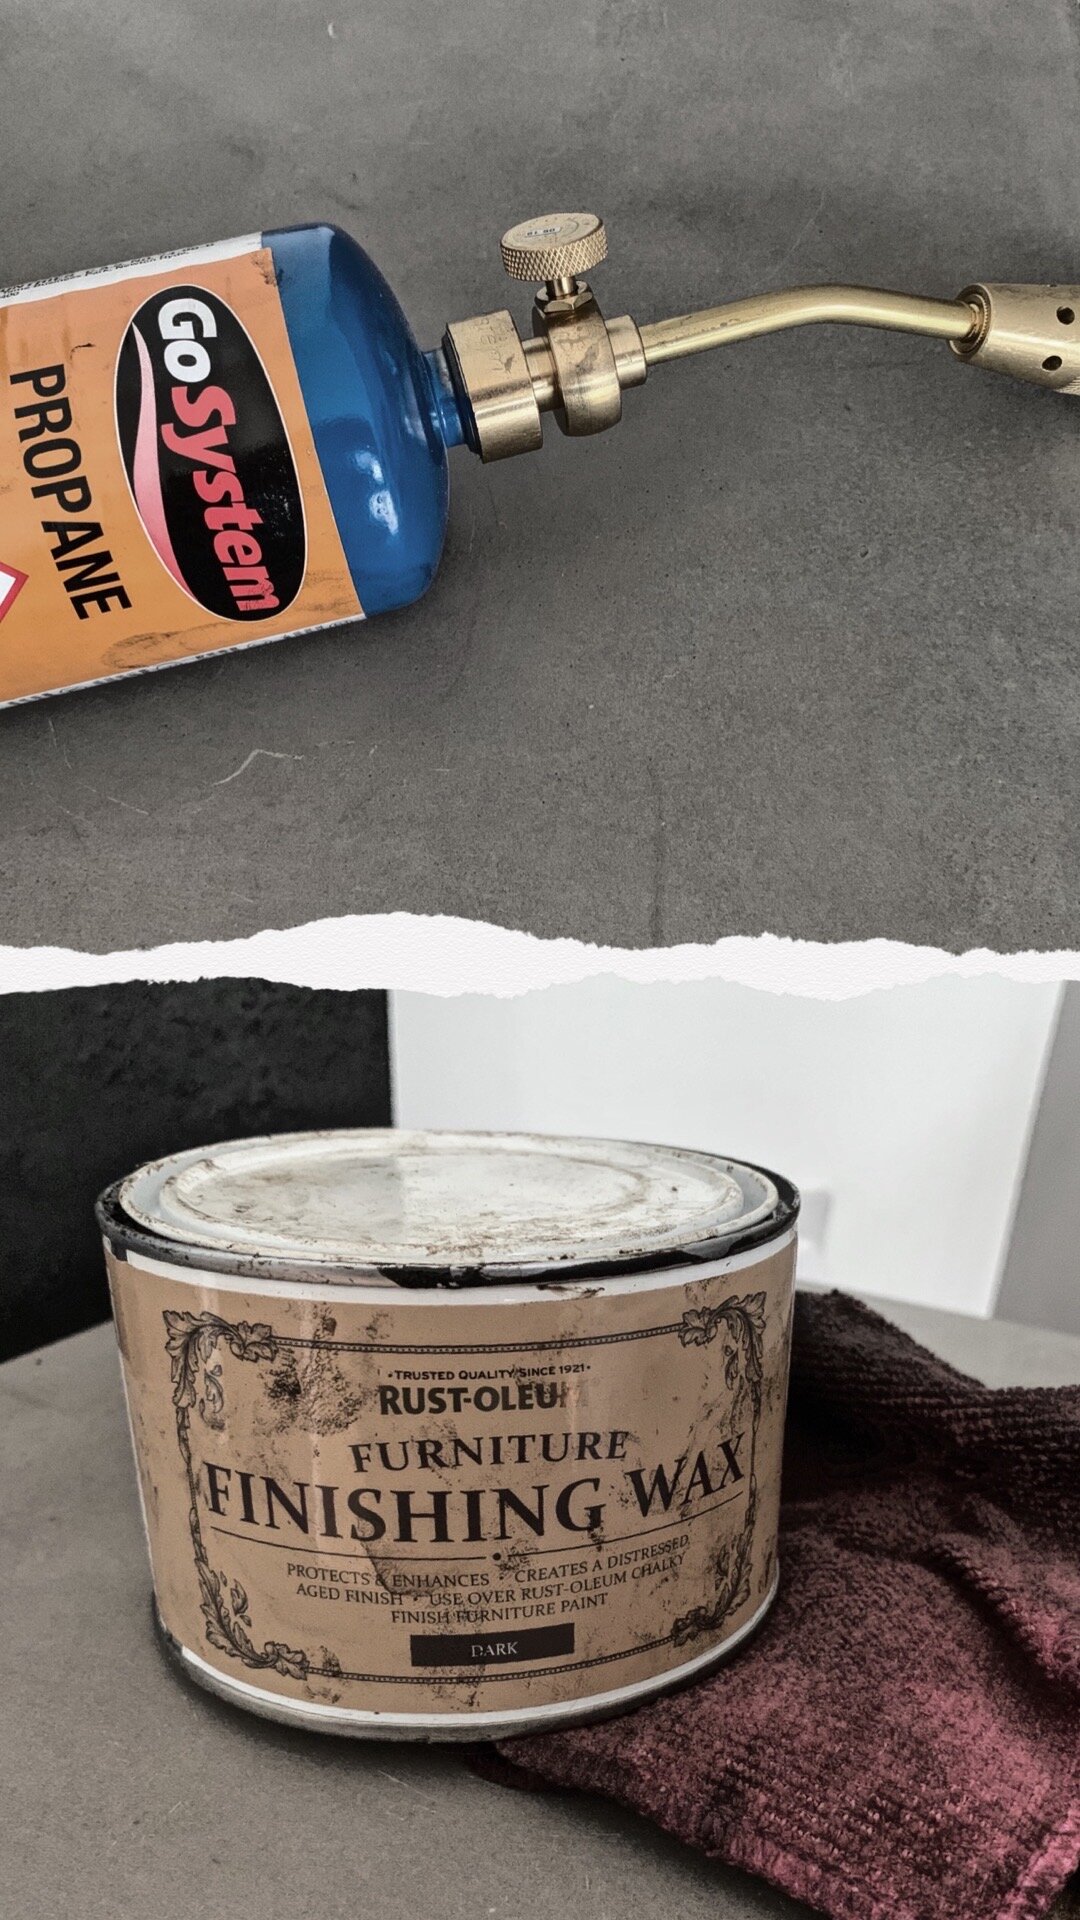

wood burning tips
Burning wood for the first time can be a bit scary. Make sure you do it outside or where you can’t set fire to anything! Using a hand held propane burner gives you a lot of control as the flame is small and less intense than a full-on blow torch, but use whatever you are comfortable with.
Don’t put the burner too close to the log, you want to burn in layers as that way you can control how black it goes. Just wave the burner over the wood in sweeps, like spray painting. The wood will become more and more charred as you go over it multiple times - the more you burn it the blacker it gets. The wood will go on fire in places but don’t panic, it’s supposed to. Just keep a little water spray handy to put out the flames.
When you have reached the desired blackness let the log cool down. It’ll be surprisingly warm inside the wood, so let it cool for an hour or so. Once you’ve done that apply French polish to seal it. Don’t be tempted to brush off the soot that’s produced - you want that to blend in with the French polish to get the nice ebonised effect.
All that’s left after that is to add your legs and now you have a beautiful Shou Sugi Ban effect table.